- Eye Makeup
- Eye Shape
- Eyeliner
- Makeup Techniques
Canthal Tilt Test: Check Your Eye Corners Accurately
Vella Beauty Editors••11 min read
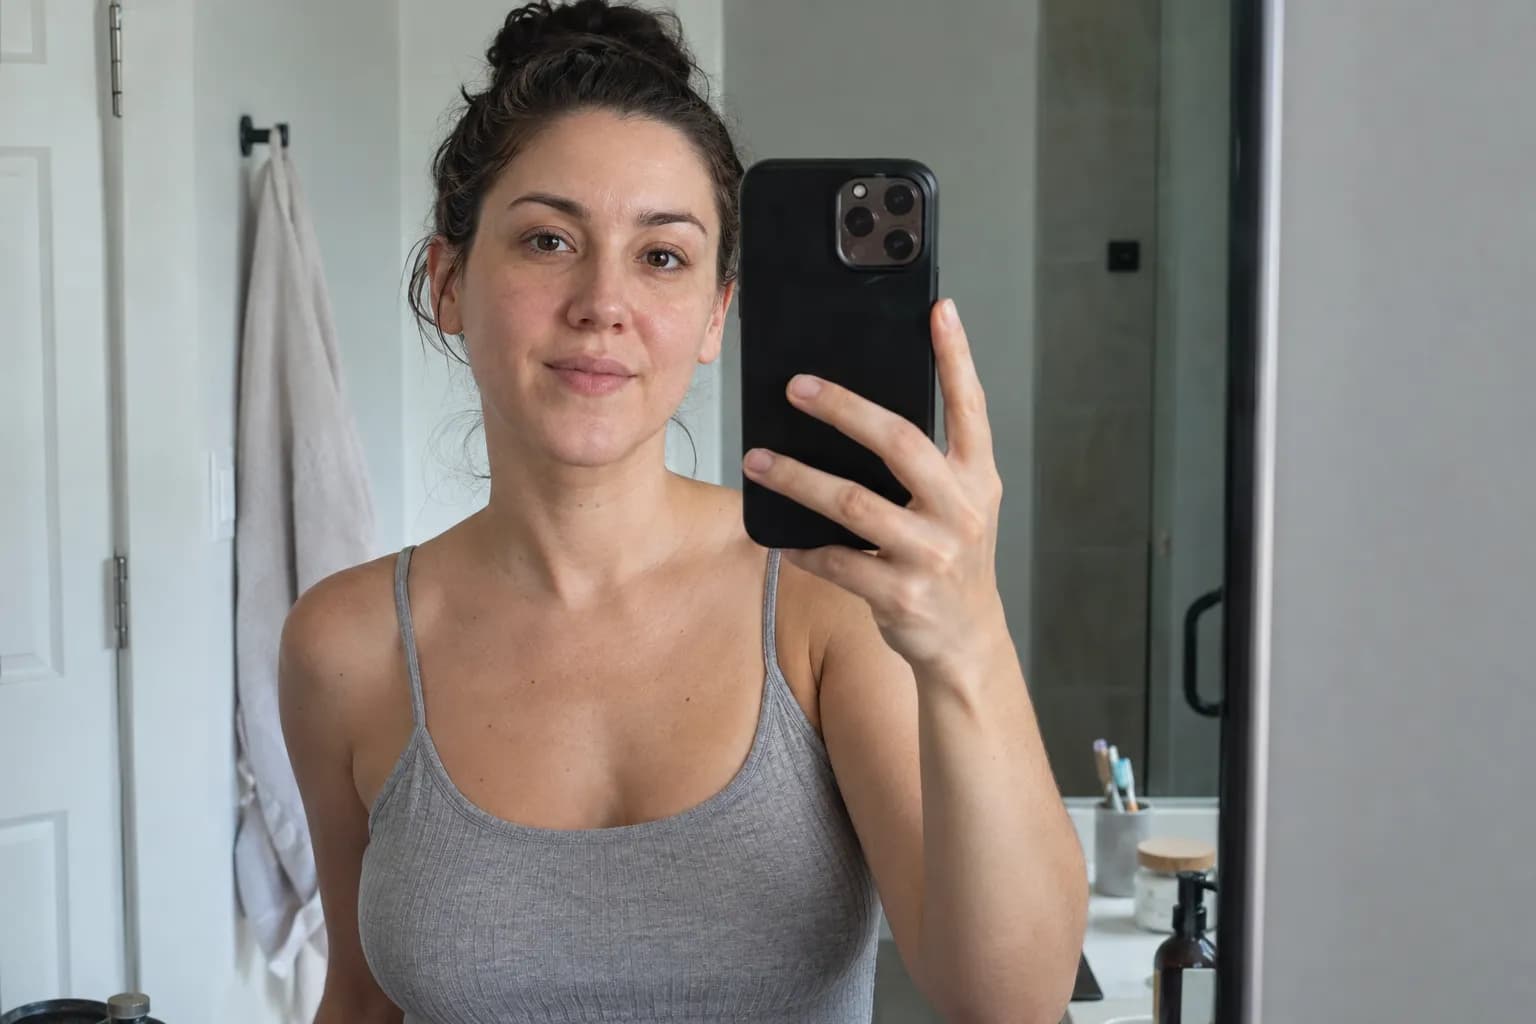
A canthal tilt test checks whether your outer eye corner sits higher than, level with, or lower than your inner corner. A straight-on, level photo makes that comparison more useful; an angled selfie can change the apparent result. This guide explains how to take the photo, interpret a checker, and use what you notice to choose eyeliner placement—not to grade your eyes.

See your colors on your face
Vella Studio finds your color season from a selfie and tries makeup looks on your own photo.
What a canthal tilt test actually measures
Canthal tilt describes the angle of an imaginary line connecting the inner and outer corners of an eye, relative to horizontal. The inner corner is beside your nose; the outer corner is toward your temple. These meeting points of the upper and lower eyelids are the landmarks you want—not the ends of your eyelashes, eyeliner, or shadow.
Look at each eye separately, moving from the inner corner outward:
| Tilt description | Position of the outer corner | What the corner-to-corner line does |
|---|---|---|
| Positive | Higher than the inner corner | Slopes upward toward the temple |
| Neutral | Approximately level with the inner corner | Runs roughly horizontally |
| Negative | Lower than the inner corner | Slopes downward toward the temple |
Positive and negative are directional labels, not attractiveness ratings. None of these categories requires correction, and each can work with lifted, elongated, rounded, or softly defined makeup.
A subtle slope may be difficult to categorize consistently. If your corners look nearly level and different photos produce different labels, “approximately neutral” is a more useful description than insisting on a precise category.
Your two eyes also do not have to match perfectly. Compare them independently rather than drawing one line across all four corners or assuming one result describes both.
How to take a level photo for a useful check
The photo setup matters because the test compares small differences in height. A tilted camera or slightly tipped head can change the relationship between your eye corners and the image’s horizontal edge.
Set up the camera and your face
- Use soft, even light. Face a window or another diffuse light source. Avoid strong side shadows that hide where your eyelids meet.
- Make both corners visible. Remove glasses and move hair away from your eyes. Ideally, check without winged liner, dark outer-corner shadow, or false lashes that obscure the endpoints.
- Position the camera at eye level. Keep it directly in front of you, rather than above your forehead or below your chin.
- Move back from an extreme close-up. A little distance helps avoid the exaggerated perspective of a very close selfie. Keep enough resolution to see the corners clearly.
- Keep your head upright. Face forward with your chin neither raised nor tucked, and avoid leaning an ear toward a shoulder.
- Relax your expression. Look straight ahead with your eyes naturally open. Do not widen them, squint, lift your brows, or smile deliberately for the shot.
- Take two or three photos. Reset your posture between shots so you can check whether the same pattern repeats.
Use your camera’s grid and a genuinely vertical background edge to help keep the phone upright. That checks the camera, not your head: you still need to avoid tilting your face within the frame.
Do not rotate the photo until your eye corners look level. That would erase the feature you are trying to observe. Likewise, do not use a beauty filter, face reshaping, or perspective correction to prepare the image.
Do a simple manual check
Open the clearest photo and zoom in enough to identify each corner. Imagine—or draw—a horizontal guide through the inner corner, then compare the outer corner with that guide. Repeat for the other eye.
Judge the corner itself, not the direction of the last few lashes. Lashes may sweep upward while the actual outer corner sits lower, and a shadow wing can create an entirely different visual endpoint.
How an online canthal tilt checker works
Online checkers generally identify the inner and outer eye corners, either automatically with facial landmarks or through points you place yourself. They then estimate the angle of the line between those points against a horizontal reference.
Some tools may account for head rotation; others may rely mainly on how the photo is framed. Because implementations differ, a numerical result should not be treated as interchangeable across every checker.
You can use the canthal tilt checker as a starting point, then compare its result with what you can actually see in a level photo.
What makes a result more useful?
Look for consistency rather than an impressively specific number:
- Visible landmarks: Both eye corners are unobstructed and in focus.
- Repeatability: Two or three similarly positioned photos suggest the same general direction.
- Agreement with the image: The label makes sense when you compare the actual corners yourself.
- Appropriate uncertainty: A nearly horizontal line is treated cautiously rather than as a dramatic difference.
If a tool shows landmark dots, check their placement. A dot on a lash cluster, eyeliner tip, or shadow edge is not measuring the intended corner. If it does not show landmarks, you have less information about how it reached its answer.
Why head angle and expression change results
Tipping your head sideways rotates your eyes within the image. This can make one eye appear more upward-sloping and the other more downward-sloping when each is read from nose to temple. Turning your face to one side or raising your chin can also change the projected view and visibility of the corners.
Smiling and squinting change the surrounding lid and cheek contours, which may make corner detection less consistent. Widening your eyes changes the visible opening, too. These expressions do not prove your underlying tilt has changed; they change the image being assessed.
Treat the checker as a makeup observation tool, not a clinical measurement or a reason to keep testing until you receive a preferred label.
Canthal tilt is not the same as overall eye shape
Tilt describes one relationship between two landmarks. Overall eye shape involves more information: the outline of the opening, lid space, crease visibility, and how the upper lid folds when your eyes are open.
That means you can have hooded eyes with positive, neutral, or negative tilt. You can also have an almond-like outline with any of those corner relationships. Labels such as “upturned” and “downturned” often overlap with tilt in makeup advice, but a broad visual description is not always identical to a corner-to-corner measurement.
For eyeliner, consider three questions together:
- Where are your corners? This helps you understand the direction of your natural eye line.
- Where does your lid fold? This determines whether a wing crosses a crease or disappears when you open your eyes.
- How much liner stays visible? This helps you choose thickness without covering more lid than you intended.
Two people with the same tilt can need very different wing shapes because their lid folds differ. Conversely, two different tilt categories may suit the same soft, horizontal shadow wing.
Your desired effect matters more than matching a diagram. Decide whether you want lift, length, roundness, or simple lash definition before choosing a technique.
Eyeliner techniques for the effect you want
Use tilt as a starting observation, then work with your eyes open and your face relaxed. A soft pencil or matte shadow is forgiving while you find the placement; you can sharpen the edge afterward if you want a more graphic finish.
| Desired effect | Main placement | Shade and finish ideas | What to check with eyes open |
|---|---|---|---|
| More visual lift | Short upward tail at the outer upper lash line | Matte espresso, charcoal, deep plum | The tail stays visible without crossing an awkward fold |
| More horizontal length | Thin line extending outward toward the temple | Chocolate brown, warm taupe, soft black | The extension looks intentional rather than accidentally dropping |
| A rounder-looking opening | Slightly fuller liner above the pupil | Cocoa, slate brown, muted aubergine | The center is emphasized without covering the lid |
| Natural definition | Tiny strokes close to upper lash roots | Cool taupe, soft brown, deep brown | No gaps remain between the visible lashes and liner |
For a lifted effect
- Look straight into a mirror and mark a small endpoint just outside the outer corner, slightly higher than it.
- Connect that mark back toward the outer third of your upper lash line.
- Fill the small space between the connection and your lashes, keeping the inner half thin.
- Relax your eyes again and check the direction before extending the wing.
With a negative tilt, you may prefer to begin the upward direction just before the final outer lashes rather than tracing every downward curve into the tail. With neutral tilt, a small upward flick can establish the effect without much length. With positive tilt, you can follow the existing direction or use a shallower angle for a less angular finish.
These are options, not rules. A negative tilt does not obligate you to draw upward wings, and a positive tilt does not mean you should avoid them.
For a longer, straighter effect
Keep the liner thin across the upper lid, then extend it mostly outward instead of steeply upward. Start with a short tail in matte chocolate or charcoal and soften its lower edge with a small brush.
If your outer corner sits lower, placing the extension slightly above the final corner may make a horizontal direction easier to draw. If your corner sits higher, a shallower tail can emphasize width without adding much more lift.
Place a little warm taupe or cool gray-brown shadow just above the outer lash line and blend outward in the same direction. Keeping the shadow and liner aligned makes the effect clearer.
For a rounder, softer effect
Skip a long tail and make the upper liner slightly fuller above the pupil, tapering toward both ends. Add a small amount of cocoa or muted plum shadow beneath the middle portion of the lower lashes, blending until no hard edge remains.
A touch of champagne, rose-beige, or bronze satin shadow at the center of the lid can support the rounded effect. Choose a shade that gives the level of contrast you want against your skin rather than defaulting to a very pale highlight.
For definition without changing the apparent angle
Press soft brown, espresso, or charcoal pencil into small gaps along the upper lash roots, staying on the skin just above the lashes. Stop at the natural outer endpoint rather than adding a tail.
For hooded lids, check every step with your eyes open. If a fold interrupts your wing, the hooded-eye eyeliner guide explains how to adapt the outline instead of simply making it thicker.
Common mistakes and how to spot them
Your result changes from positive to negative between selfies
First check for camera tilt, a sideways head lean, or a turned face. Retake the photos under the same conditions. If the slope remains very small and the label still changes, treat it as an uncertain, near-neutral result rather than chasing a definitive number.
One eye looks much more tilted in only one image
Compare another level shot before changing your makeup plan. A sideways head tip can affect the apparent slopes differently. If a small difference repeats, you can adjust each wing individually for the effect you want rather than forcing identical strokes.
You measured your eyeliner instead of your eye
A dark wing or long outer lash can become the most obvious endpoint in a photo. Find the actual junction of the upper and lower lids. If you cannot see it, a fresh photo without outer-corner makeup is more useful than guessing.
Your wing looks right with eyes closed but bends when open
This usually calls for a lid-fold adjustment, not a new tilt label. Mark the tail while looking straight ahead, then connect it in small strokes. You may need a stepped outline that looks unusual on a closed lid but continuous when open.
You chose a shade because of your tilt category
Tilt does not determine your undertone or best colors. Espresso, slate, plum, and warm taupe can all work across tilt categories; choose among them for the contrast and color effect you prefer. Placement controls direction, while shade and finish control how soft or defined that direction looks.
Use Vella to connect the check with your makeup
After checking the corner angle, use the free Eye Shape Quiz for broader makeup guidance. Consider the result alongside your visible lid space and crease behavior rather than reducing your eyes to one label. The Eyeliner Shape Finder is another useful starting point when you want to explore liner placement.
In the Vella Studio app, you can try photorealistic makeup on your own photo and compare it with the original using a before-and-after slider. The app also maps eyeliner shapes to your eyes and draws them on your photo, helping you visualize placement before picking up a pencil.
Choose one effect to explore—such as a short espresso flick or a softer horizontal line—then check the real application with your eyes open. Your tilt is useful context; the final choice is the makeup you want to wear.
Frequently asked questions
How do I test my canthal tilt at home?
Take a level, front-facing photo with the camera at eye height and your expression relaxed. Compare each outer eye corner with its inner corner: higher indicates positive tilt, approximately level indicates neutral, and lower indicates negative. Check more than one photo before settling on a description.
Are online canthal tilt checkers accurate?
They can provide a useful estimate, but results depend on photo positioning and how accurately the tool identifies your eye corners. Head tilt, obscuring makeup, and unclear landmarks can affect the output. A precise-looking angle does not guarantee a precise measurement.
Can smiling change my canthal tilt test result?
Smiling or squinting can change the visible lid contours and make automated landmark detection less consistent. That can change the photo-based result without showing a change in your underlying anatomy. Use a relaxed expression for a more repeatable check.
Is negative canthal tilt the same as downturned eyes?
The terms overlap, but they are not always used identically. Negative tilt specifically means the outer corner sits lower than the inner corner in a level view, while “downturned” is often a broader makeup description. Lid folds and the overall eye outline still matter for liner placement.
Which canthal tilt is best for eyeliner?
No tilt category is best, and none needs correcting. You can create lift with a short upward tail, length with a shallower extension, or roundness by emphasizing the center of the upper lash line. Your lid folds and desired effect are more useful guides than an attractiveness ranking.
Try it on your own face
Vella Studio finds your color season and shows every look on your photo — every shade named, so you know exactly what to buy.