- Eye Makeup
- Eye Shape
- Eye Makeup
- Eyeliner
- Makeup Techniques
Eye Shape Test: Find Your Shape in 5 Easy Steps
Vella Beauty Editors••11 min read
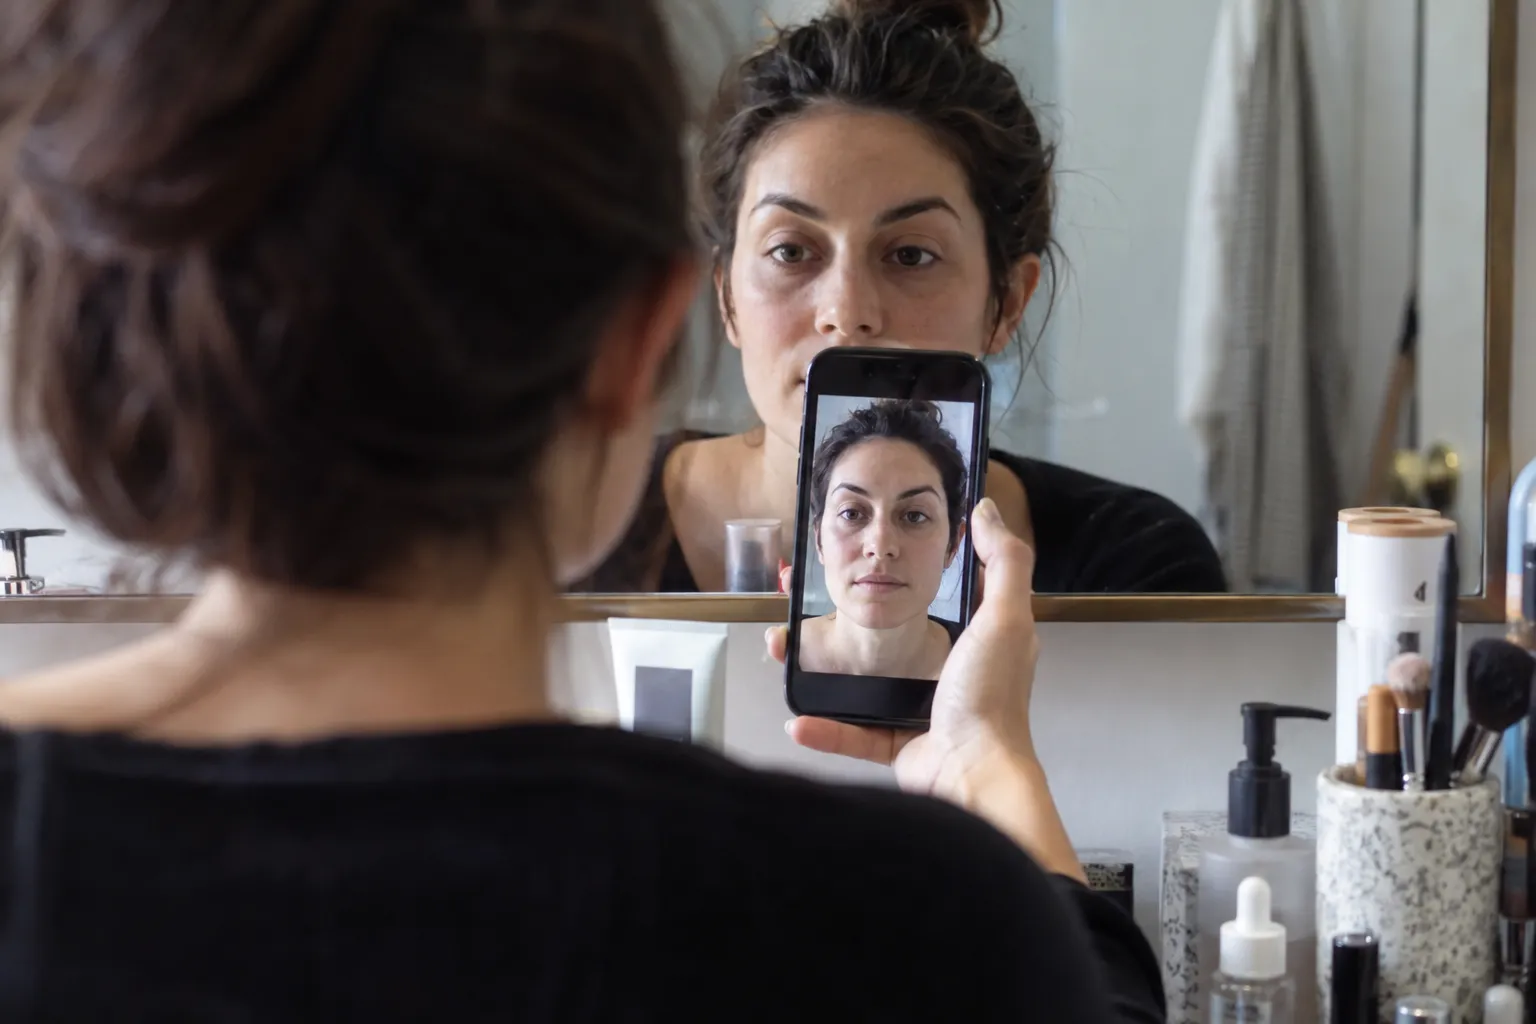
An eye shape test works best when you check three separate features: your eye opening, your lid crease, and the angle of your corners. You can have almond eyes that are also hooded and downturned—these labels are not competing answers. This guide walks you through a mirror or photo quiz, explains uncertain results, and shows you how to use your findings for eyeliner and shadow.

See your colors on your face
Vella Studio finds your color season from a selfie and tries makeup looks on your own photo.
Set up your mirror or photo before testing
Your expression and camera angle can change how your eyes appear. Start with a neutral view rather than a selfie taken from above or a photo where you are smiling broadly.
For a mirror check, stand or sit with the mirror at eye level in even light. Face a window if possible, without direct sun making you squint. Remove sunglasses and, if practical, glasses that obscure your corners or crease.
For a photo:
- Keep the camera at eye level. Look straight into the lens, with your chin neither lifted nor tucked.
- Use some distance. Avoid holding a wide-angle camera very close to your face. Take a head-and-shoulders photo and crop afterward if needed.
- Relax your forehead. Raising your brows can uncover a hooded lid and change your result.
- Use a neutral expression. Do not deliberately widen your eyes or squint.
- Skip filters and portrait reshaping. Use an unedited image with both eyes clearly visible.
Bare lids make the test easier. A dark wing can disguise the outer corner, while cut-crease shadow can suggest a fold that is not actually there.
Take one straight-ahead photo and, if your crease is unclear, a second with your gaze gently lowered. Use the first for shape and corner direction; use the second only to investigate the fold.
The eye shape test: a five-step mirror quiz
Rather than forcing one answer, this eye shape quiz builds a short description of each eye. Keep a note with three headings: opening, lid, and corners.
Step 1: Is your eye opening more almond or round?
Look at the outline between your upper and lower lash lines—not the brow or the surrounding socket.
- Almond-leaning: The opening looks elongated, with tapered inner and outer corners. The upper and lower lids often meet or slightly cover the top and bottom of the iris, the colored part of your eye.
- Round-leaning: The opening looks more circular or vertically open, especially through the center. You may see a strip of white below the iris when looking straight ahead.
- In between: Your eyes may have tapered corners but a noticeably open, rounded center. Write “almond-round” or “slightly round” rather than forcing a category.
Visible white is a clue, not a pass-or-fail rule. Looking upward, widening your eyes, or changing your expression can reveal more white without changing your usual eye shape. Read the whole outline alongside that clue.
Step 2: Can you see a crease, and is it covered?
A crease is the fold above the upper lash line. Lid space is the area between that fold and your lashes; the two are not interchangeable.
First look straight ahead, then lower your gaze slightly without raising your brows.
- Visible crease, exposed mobile lid: A fold is present, and some of the moving lid remains visible with your eyes open.
- Hooded lid: Skin above the crease overlaps it, hiding some or most of the mobile lid when you look ahead. The overlap may affect the whole lid or mainly the outer portion.
- Monolid: There is no clearly defined crease across the upper lid. The surface generally appears continuous from the lash line upward, though small folds or partial creases can occur.
A hooded eye can have a crease that becomes clearer when you look down. A monolid generally does not reveal the same continuous crease. However, a low or partial crease can be difficult to classify, and monolids can also have overhanging skin. If you are unsure, record what you can actually see: “low crease, little exposed lid” is useful makeup information.
Step 3: Do your outer corners turn up or down?
Imagine a horizontal line through the inner corner of one eye. Compare the outer corner—the point where the upper and lower lids meet—with that line.
- Above the line: Upturned.
- Below the line: Downturned.
- Roughly level: Neutral corner angle.
Repeat on the other side. Keep your head level, and judge the actual corner rather than the direction of your longest lashes or existing eyeliner.
A small difference does not need a strong label. “Slightly downturned” is more informative than treating a subtle tilt as your eye's defining feature.
Step 4: Compare both eyes separately
One eye may show more lid space, a stronger hood, or a slightly different corner angle. Record the difference instead of averaging it away.
This matters when applying makeup: identical wing shapes on the skin may not look identical with your eyes open. Your placement can differ slightly on each side while the finished effect looks balanced.
Step 5: Combine your findings
Build your result from the three observations, such as almond + outer hooding + neutral corners or round + visible crease + upturned corners.
| Feature | What to check | Possible result | Main makeup implication |
|---|---|---|---|
| Eye opening | Overall outline and vertical openness | Almond, round, or between | Where you concentrate length or rounded emphasis |
| Lid structure | Crease and exposed lid with eyes open | Visible crease, hooded, monolid, or partial crease | How high shadow and liner need to sit to remain visible |
| Corner direction | Outer corner relative to inner corner | Upturned, neutral, or downturned | Starting direction for a wing or outer shadow |
| Side-to-side differences | Each eye in the same relaxed view | Similar or slightly different | Whether placement needs small adjustments |
Your result describes useful features; it does not prescribe one “correct” makeup style.
Common mistakes when your result feels ambiguous
If you keep asking “what's my eye shape?” after trying several quizzes, the problem may be the categories rather than your observation. Many tests treat almond, hooded, and upturned as mutually exclusive when they describe different things.
Mistaking small lid space for a monolid
A very low crease can sit close to the lashes and disappear when your eyes open. Check your lowered-gaze view before deciding that no crease exists. If you see a fold but very little lid above the lashes, note both facts.
Treating deep-set and hooded as synonyms
Deep-set describes how the eyes sit relative to the surrounding brow and socket. Hooded describes skin overlapping the crease. A shadow beneath the brow alone does not establish hooding; look for the overlap itself. Both features can occur together.
Using the brow tail to judge corner direction
A lifted brow can make the whole eye area look more upturned, but it does not move the actual eye corner. Crop the image closer if your brows or lashes distract you, while keeping enough of your face visible to check that your head is level.
Forcing a label from one dramatic photo
Smiling, looking sideways, heavy liner, and close camera angles can all change the visible outline. If two photos disagree, repeat the neutral setup and compare it with your mirror view. Do not choose the image that seems to produce the most decisive label.
Expecting an exact measurement
There is no single universally standardized beauty quiz that sorts every eye neatly into one category. If you remain between labels, use the observation that affects your makeup: where a fold covers liner, how much lid stays visible, and where your outer corner sits. Those details are more actionable than a perfectly tidy result.
Use your result to place eyeliner
Choose the effect you want first: elongation, rounded definition, a lifted wing, or simply a darker lash line. Your shape tells you how to place that effect, not whether you are allowed to wear it.
Start with espresso, soft charcoal, or deep plum pencil if you want an adjustable outline. Black gives a stronger edge; a smudged brown line makes small placement differences less noticeable.
Almond or round: decide where the line gets thicker
For almond eyes, try a thin line along the inner half, building a little thickness over the outer third. Extend the tapered outline only as far as you want the eye to appear longer.
For round eyes, keep the line fine over the center if your goal is elongation, then extend slightly outward. If you want to emphasize roundness instead, give the center of the upper lash line a little more weight and keep the outer extension short.
Neither approach requires outlining the waterline. You can create these effects along the external lash line alone.
Hooded lids: map the visible wing with your eyes open
Look straight ahead with relaxed brows. Place a small dot where you want the wing tip to remain visible, then sketch a thin connection toward the outer lash line. Check the shape open-eyed before filling it in.
If your fold crosses that connection, use a shorter wing or an open-eye, batwing-style outline rather than repeatedly thickening the entire lid. The line may look stepped with your eye closed but continuous when open. The hooded-eye eyeliner guide explains that placement in more detail.
Monolids: build thickness gradually
Begin close to the lashes, then open your eyes after each small addition. Stop when the amount of liner you want is visible. A soft pencil gradient can define the lash line without requiring a large, solid block of color.
Upturned or downturned: choose your exit point
For upturned corners, a short extension following the existing angle can emphasize the lift. A more horizontal extension creates a longer, less angled effect.
For downturned corners, if you want a lifted finish, start directing the line outward and slightly upward just before the lash line dips. Keep the lowest outer section fine. You can also follow the natural downward angle for a softer, elongated shape—there is nothing to correct unless you want a different effect.
Use your result to place eyeshadow
Think in three zones: a light or medium lid shade, a softly blended transition, and a deeper area for definition. Shape mainly changes where these go; your coloring and preferences determine the shades.
For a simple palette, try warm taupe, bronze, and espresso for a warm direction, or mushroom taupe, dusty rose, and charcoal for a cooler one. The undertone guide can help you choose between those shade families without tying color choices to eye shape. If your skin is tan with golden or peach undertones, the warm tan skin tone guide offers more tailored color guidance.
For hooded lids, place the transition where you can see it
With your eyes open, lightly mark a matte transition shade just above the area where the fold hides your lid. Use a small brush to blend the upper edge, leaving some space beneath the brow rather than carrying the color all the way up.
Add satin bronze or muted rose to the mobile lid if you like shine. Shimmer is not forbidden on hooded eyes; check where it remains visible and whether you like the emphasis.
For monolids, try a lash-to-brow gradient
Place your deepest shade close to the upper lashes, a medium shade directly above it, and blend upward into a soft edge. Open your eyes between layers so the gradient reaches the visible area without becoming higher or wider than you intended.
You do not need to draw an artificial crease. A wash of warm taupe with espresso at the lashes, or dusty rose with deep plum, can create definition while following your lid's surface. See the monolid makeup guide for more placement options.
For almond or round eyes, move the emphasis
To emphasize length, concentrate your deepest shadow on the outer third and blend outward in a short, tapered shape. Keep checking straight ahead so the extension does not accidentally spread farther down than you intended.
To emphasize roundness, place a soft satin highlight near the center of the lid and blend deeper color around it without a long outer tail. This can work on almond eyes too—the technique describes an effect, not a restriction.
Let corner direction guide the outer edge
For a lifted effect on downturned eyes, keep the deepest outer shadow above the lowest part of the corner and blend outward toward a point you can see with your eyes open. On upturned eyes, following the existing angle emphasizes it; blending more horizontally softens that impression.
Combine these directions rather than choosing just one. If your result is round, hooded, and slightly downturned, you might use a visible transition above the fold, a fine center lash line, and a short outward wing. Test one change at a time so you can tell which placement you prefer.
Try an optional eye shape quiz with Vella
If you want a second reference after your mirror check, try the free Eye Shape Quiz. Compare the result with your observations rather than treating any automated label as a final verdict, especially when your features sit between categories.
The Vella Studio app can map an eyeliner shape to your eyes and draw it on your photo. Its photorealistic makeup try-on also lets you compare a look on your own face with a before/after slider. Use that preview to choose a direction, then confirm the real placement with your eyes open and your brows relaxed.
Frequently asked questions
How can I tell what my eye shape is?
Look straight ahead in an eye-level mirror with your brows relaxed. Check your eye opening, crease visibility, and outer-corner angle separately. Combine those observations rather than expecting one label to describe everything.
Can you have both almond and hooded eyes?
Yes. Almond describes the outline of the eye opening, while hooded describes skin overlapping the lid crease. You can also have upturned, neutral, or downturned corners alongside either feature.
How do I know if my eyes are almond or round?
Almond eyes generally look elongated with tapered corners, while round eyes look more vertically open through the center. White visible below the iris can suggest roundness, but it is only a clue. Check your overall outline with a neutral expression rather than relying on that detail alone.
What is the difference between hooded eyes and monolids?
Hooded eyes have skin that overlaps the crease and covers some of the mobile lid. Monolids do not have a clearly defined upper-lid crease, although partial folds and overhanging skin can occur. Lowering your gaze gently can help distinguish a hidden crease from an absent or partial one.
Are photo eye shape tests accurate?
A photo can provide a useful reference, but head tilt, camera angle, expression, and makeup can change the apparent shape. Use an unfiltered, eye-level photo and compare it with a mirror check. Treat automated results as guidance, especially if your features fall between categories.
What if my eyes have different shapes?
Record each eye separately, including differences in lid visibility or corner angle. You can adjust liner thickness, wing direction, or shadow height slightly on each side to create a balanced open-eye effect. The makeup does not have to be identical on the skin to look balanced.
Try it on your own face
Vella Studio finds your color season and shows every look on your photo — every shade named, so you know exactly what to buy.