- Makeup Guides
- Makeup Guides
- Clean Girl Makeup
- Natural Makeup
- Undertones
Clean Girl Makeup: A Step-by-Step Guide to Soft Glow
Vella Beauty Editors••11 min read
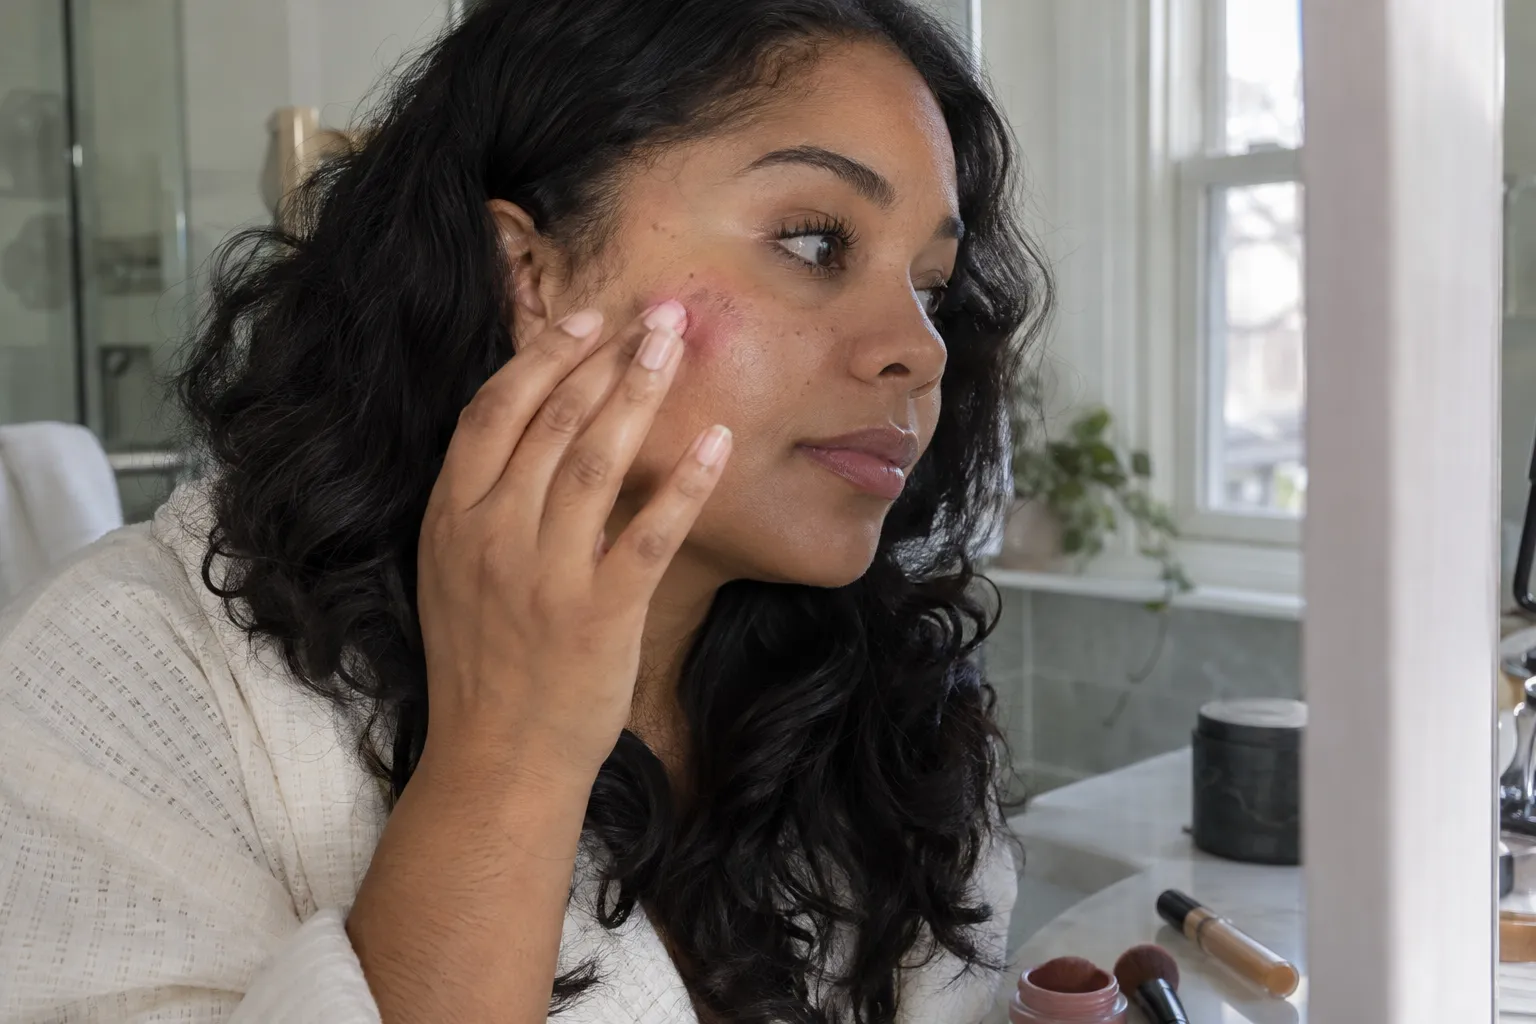
Clean girl makeup is a softly polished, skin-focused look: light coverage, groomed brows, subtle eyes, believable blush, and understated lips. The aim is makeup that blends into your features, not a face with no visible texture. This guide walks you through the application order, undertone-friendly shades, and small placement changes that keep your finish luminous rather than shiny.

See your colors on your face
Vella Studio finds your color season from a selfie and tries makeup looks on your own photo.
What does clean girl makeup mean?
“Clean girl” describes an aesthetic, not a hygiene standard, ingredient category, or requirement to have clear skin. If you searched クリーンガール or クリーンガールとは in Japanese, or 클린걸 메이크업 in Korean, the makeup look generally refers to this same fresh, minimal approach.
Its defining features are:
- Light, selective coverage: Your complexion still looks like skin, with freckles and natural variation allowed to show.
- Softly groomed brows: Hairs look arranged rather than drawn into a solid block.
- Quiet eye definition: A little shadow, lash-line color, and separated lashes create structure without dominating.
- A believable flush: Blush blends into the complexion rather than sitting as a distinct stripe.
- Understated lips: A tint, satin lipstick, or balm enhances your natural lip color.
- Controlled luminosity: Light catches the high points without making the entire face reflective.
You do not need a slick bun, a particular face shape, or a specific skin tone. Nor does minimal-looking makeup have to mean the fewest possible products: a tiny dot of concealer can look more natural than several layers of sheer foundation.
The Clean Girl makeup look page offers a preview and another reference for the overall balance. Use the aesthetic as a direction, not a checklist you must copy exactly. If you prefer darker shades and stronger contrast, the beginner’s guide to goth makeup shows you how to build that depth on your natural skin tone.
Choose shades for your undertone and depth
A natural-looking finish depends on color as much as coverage. A pale beige lip can look understated on one person and chalky on another; a sheer berry can be the more believable choice on deeper coloring.
Undertone guides the color family; skin depth and natural contrast guide how light, deep, or intense that color should be. Start with the suggestions below, then check the actual shade on your face.
| Undertone or coloring | Blush families | Subtle eye shades | Understated lip families | Watch for |
|---|---|---|---|---|
| Warm | Peach, apricot, warm rose, terracotta | Warm taupe, caramel, soft bronze | Peach-brown, rose-brown, sheer brick red | Very icy pinks may look separate from the skin |
| Cool | Dusty rose, cool pink, raspberry, plum | Cool taupe, mushroom, soft gray-brown | Pink-brown, mauve, rosewood, sheer berry | Strong orange or yellow-gold may dominate |
| Neutral | Balanced rose, soft coral, muted berry | Neutral taupe, cocoa, beige-brown | Neutral rose, pinky beige, balanced rose-brown | Extremely warm or cool shades may be harder to blend visually |
| Olive, whether warm, cool, or neutral | Muted rose, soft terracotta, rose-plum | Olive-brown, muted bronze, neutral taupe | Muted rose-brown, brown-mauve, sheer brick | Very pale, white-based shades may look chalky |
Olive coloring can coexist with warm, cool, or neutral undertones; it is not a separate temperature category. These are starting points rather than rules that exclude colors you enjoy.
Adjust the depth, not just the temperature
On fair skin, a small amount of soft peach or dusty pink may create enough flush. On medium and tan skin, rose, apricot, and terracotta often provide clearer definition. On deep skin, rich berry, brick, copper-rose, and plum can look beautifully understated when applied sheerly.
The same logic applies to eyes and lips. If a “nude” shade looks gray or erases your features, try something deeper and closer to your natural coloring rather than adding more product.
Unsure where you sit? The guide to finding your undertone explains how to compare clues instead of relying on a single vein or jewelry test. Check makeup in indirect daylight, because warm bathroom lighting can make a mismatched shade appear more convincing.
Prepare a smooth canvas without adding excess slip
Your preparation should leave skin comfortable, not coated in several glossy layers. Apply your usual moisturizer where needed and your regular daytime sunscreen, then allow the layers to settle before starting makeup.
If the surface feels slippery, give it more time rather than immediately piling foundation on top. Too much slip can make coverage move around the nose or collect in folds.
Choose primer only if it solves a specific makeup problem. A small amount of shine-controlling primer through the center of the face may help your preferred finish; an illuminating primer over the entire face may be unnecessary if your base is already luminous.
For areas where makeup catches on visible flakes, use a thin layer of moisturizer and keep coverage light. Avoid repeatedly rubbing product over them. Makeup can change the appearance of texture, but it cannot erase it, and persistent irritation or a skin condition is best discussed with a dermatologist.
Keep your working kit simple: a sheer base, concealer, brow product, neutral eye shade or pencil, mascara, blush, lip color, and a little powder. Highlighter and bronzer are optional.
Clean girl makeup, step by step
1. Apply a light base only where you want evening out
Choose a skin tint, sheer foundation, or a thin layer of a more buildable foundation. Match it along your jaw and check that it connects naturally with your neck and chest; do not choose a lighter shade to make the look seem “fresh.”
Start with a small amount around the center of your face, where you may want more evening out. Blend outward with fingers, a brush, or a lightly damp sponge, using progressively less product toward the hairline and jaw.
Keep coverage especially thin around the nostrils and mouth, where excess product can gather. If your forehead or outer cheeks already look even to you, leave them mostly bare. You can also skip foundation entirely and move straight to concealer.
2. Place concealer on individual areas, not in large shapes
After your base, reassess what still needs coverage. Tap a tiny amount of concealer beside the nose, on individual marks, or where under-eye darkness is most visible.
For under-eyes, start near the inner corner and extend only as far as the discoloration goes. A large triangle of pale concealer creates a much stronger highlight than this look needs. Choose a shade close to your skin tone, or only slightly lighter if you want gentle brightness.
For a small mark, use a fine brush to place skin-matching concealer directly on it, then tap the perimeter without wiping the center away. If one area still shows through, add another pinpoint layer there instead of coating the whole cheek.
3. Groom brows in their natural direction
Brush the inner brow hairs slightly upward, then guide the middle and tail outward. The goal is a tidy, soft shape, not every hair standing vertically.
Use a fine pencil or a small amount of powder only in obvious gaps. Make short marks that follow the hair direction, then brush through to soften them. Choose a shade close to your brow hairs, avoiding an overly dark or orange tone.
Finish with a light coat of clear or tinted gel if you need hold. Leave the fronts less defined than the tails so the brows do not become the strongest feature on your face.
4. Add subtle eye definition
Sweep a thin wash of taupe, muted bronze, or cocoa over the mobile lid. Keep the edge diffused and the color close enough to your skin depth that it reads as soft dimension rather than a distinct block.
For more definition, press brown, charcoal-brown, or soft black pencil between the upper lash roots, staying on the skin side rather than the inner rim. Concentrate on the outer third if lining the entire eye feels heavy, and soften the edge with a small brush.
With hooded lids or monolids, check placement with your eyes open. Keep any visible liner narrow so it does not occupy all the visible lid space. Shadow is optional if lashes alone give you enough definition.
Curl your lashes if you like, then apply a light coat of mascara, separating clumps before it dries. Brown offers a softer effect on some coloring; black can still look natural on dark lashes or higher-contrast features.
5. Blend blush into the cheeks
Choose a cream, liquid, or finely textured powder in a suitable shade family. Cream is not mandatory: a softly blended powder can look just as natural, particularly if your base remains tacky or tends to become shiny.
Place a small amount on the upper fleshy part of your cheek, roughly below the outer half of your eye. Blend outward toward the upper ear, keeping the strongest color on the cheek rather than dragging a dense stripe into the temple.
Look straight ahead with your face relaxed before adding more. For a rounder flush, keep the placement more centered; for a gently lifted effect, keep most of it higher and farther outward. Neither placement is required for a particular face shape.
If you overapply, tap over the edge with the tool you used for foundation. Its leftover base can soften the color without adding a separate heavy layer.
6. Keep lips defined but understated
Choose a tinted balm, sheer lipstick, or satin finish close to your natural lip depth. Dusty rose, peach-brown, mauve-brown, and sheer berry are useful options depending on your undertone.
If your lip border needs definition, trace only the less distinct areas with a pencil close to your lip color, then blur the line inward. You do not need a sharply outlined or noticeably overdrawn shape.
Press lipstick on lightly and blot once for a softer finish. Add a small touch of gloss at the center if you enjoy shine, rather than building a thick reflective layer across the entire mouth.
7. Set selectively and check the whole face
Before powdering, tap out any concealer that has gathered in a crease. Press a small amount of finely milled powder around the sides of the nose, between the brows, and on the center of the forehead or chin as needed.
Use a small brush or puff rather than sweeping powder indiscriminately over your cheeks. Choose translucent powder that disappears on your skin or a suitable tinted shade; “translucent” does not guarantee an invisible result at every skin depth.
Step back from the mirror. Your brows, blush, and lips should feel connected, with no single edge demanding attention.
Balance glow without emphasizing shine
The easiest way to control glow is to decide where you want reflection and where you want softness. You do not need a fully matte T-zone, but a little contrast between finishes helps the face look intentionally polished.
Keep luminosity mainly on the upper cheekbones. If your blush or foundation already reflects light there, skip highlighter. Otherwise, tap on a tiny amount of a finely pearlescent shade that blends into your skin depth: pearl-beige, champagne, soft gold, copper, or bronze, depending on your coloring.
Avoid automatically highlighting the nose tip, forehead, and chin. Those placements can exaggerate shine if the same areas already become reflective during the day. A pale or glittery highlight may also make surface texture more noticeable; a subtler formula, different placement, or no highlighter can work better.
For touch-ups, gently blot excess shine first, then powder only if needed. Repeatedly adding powder over a shiny surface can leave a thicker-looking finish.
If you prefer less reflection overall, borrow the softly diffused finish from cloud skin makeup while keeping the brows, blush, and lips minimal. Clean girl makeup does not have to be dewy everywhere.
Common mistakes: diagnose what looks off
Your base looks heavy even though it is sheer. You may have applied several layers across the whole face to cover one area. Use one thin base layer, then spot-conceal what remains.
Your face looks shiny rather than luminous. Check whether moisturizer, illuminating primer, dewy foundation, cream blush, and highlighter are all adding reflection. Remove one glow-producing layer next time and set the center selectively.
Your cheeks look chalky or disconnected. The blush may be too pale, too white-based, or the wrong temperature for the effect you want. Try a richer shade in a sheer application rather than adding more of the same pale color.
Your brows look severe. Look for a dark, squared-off front or a solid lower border. Brush through the front, soften the outline, and reserve extra definition for sparse areas.
Your eyes disappear. Minimal makeup does not mean avoiding contrast. Add a little depth at the upper lash roots or choose a deeper mascara shade before increasing shadow coverage.
Your mouth looks washed out. Your lip color may be lighter than your natural lips. Try rose-brown, berry, or brick in a sheer finish, and softly restore the border with matching liner.
The makeup looks good close up but unbalanced at a distance. Check your face at arm’s length in daylight. If blush is all you notice, blend it back; if everything looks flat, add one small point of definition rather than strengthening every feature.
Check your shades and preview the look with Vella
For a starting point on shade temperature, try the free Undertone Finder. Treat the result as guidance, then compare your shortlist in daylight: photo lighting can influence how colors appear.
The Vella Studio app lets you try the Clean Girl look on your own photo, with photorealistic makeup try-on and a before/after slider. You can compare the overall balance before deciding whether you want softer blush, deeper lips, or more eye definition.
Use that preview for color and placement ideas, not as a promise of real-life texture or wear. In your actual routine, start sheer, check each feature, and add only what makes the look feel more like you.
Frequently asked questions
What is clean girl makeup?
Clean girl makeup is a minimal, polished look with light coverage, softly groomed brows, subtle eyes, natural-looking blush, and understated lips. The word “clean” describes the aesthetic, not hygiene or a particular ingredient standard.
Can you do clean girl makeup without foundation?
Yes. Apply concealer only where you want coverage, blend the edges carefully, and add blush, brow grooming, and a soft lip color. Foundation is optional, not the defining feature of the look.
How do you do clean girl makeup on oily skin?
Keep preparation light, avoid stacking several illuminating products, and set the areas that become shiny with a small amount of powder. Leave a little luminosity on the upper cheeks rather than across the entire face. Blot excess shine before adding more powder during touch-ups.
Does clean girl makeup work on deep skin tones?
Yes—the technique works across skin depths. Try sheer berry, brick, plum, or copper-rose blush and lip shades rather than assuming natural makeup must use pale pink or beige. Match base products to your skin and check that powder and highlighter do not leave a pale cast.
What is the difference between clean girl makeup and no-makeup makeup?
The two overlap: both use blended edges, selective coverage, and shades that harmonize with your features. Clean girl makeup often includes more visibly groomed brows, luminous cheeks, and glossy or balmy lips. No-makeup makeup may aim to make every product less detectable.
Can you wear clean girl makeup with blemishes or visible texture?
Yes; you do not need perfectly even skin to wear this look. Keep the base thin, use targeted concealer where you want coverage, and place reflective products selectively if they make texture more noticeable. The goal is a finish you enjoy, not erasing every natural feature of your skin.
Try it on your own face
Vella Studio finds your color season and shows every look on your photo — every shade named, so you know exactly what to buy.