- Makeup Guides
- Goth Makeup
- Makeup Guides
- Eye Makeup
- Dark Lipstick
Goth Makeup: A Beginner Guide for Every Skin Tone
Vella Beauty Editors••11 min read
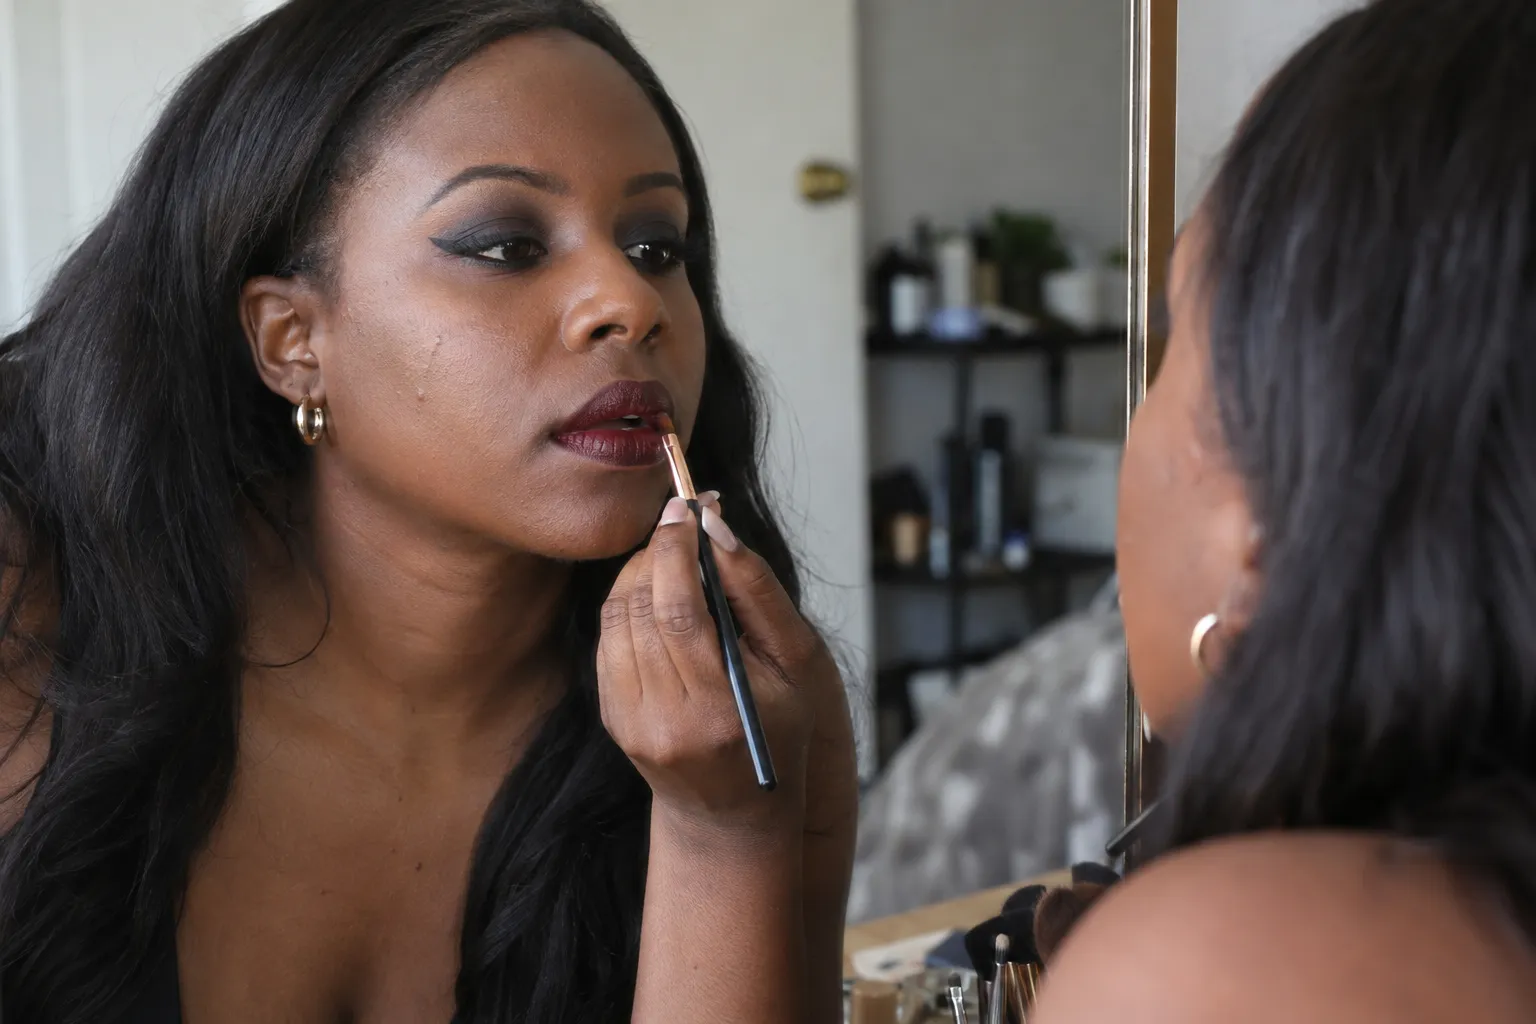
Goth makeup is a dark, expressive makeup style built around smoky eyes, deliberate eyeliner, and deep or sharply outlined lips—not a requirement to make your skin look pale. You can create it on any skin tone by controlling where you place darkness and how clearly you define the edges. This guide covers a beginner routine, flattering shade options, eye-shape adjustments, and the fixes that stop dark shadow turning muddy.

See your colors on your face
Vella Studio finds your color season from a selfie and tries makeup looks on your own photo.
What defines goth makeup?
Goth makeup draws from gothic music and fashion subcultures, but there isn’t one compulsory face. Recognizable elements include black or near-black eye makeup, dark lips, intentional brow shapes, and contrast between soft smoke and crisp lines. Matte and satin finishes are common; metallic silver, glossy black, and jewel-toned shimmer can also fit.
A pale complexion is one historical styling choice, not an entry requirement. Your natural skin tone can anchor the look just as effectively. What matters is the relationship between the shades and shapes you choose.
Use this comparison to decide how much intensity you want:
| Element | Soft goth | More dramatic goth |
|---|---|---|
| Base | Natural skin tone, sheer to medium coverage | Natural skin tone, more even coverage where wanted |
| Eyeshadow | Charcoal, espresso, or muted plum close to lashes | Opaque black, extended smoke, or deep jewel tones |
| Eyeliner | Thin line or short smudged wing | Graphic wing, sharp points, or heavier lash definition |
| Brows | Natural shape with a defined tail | Stronger arch, straighter shape, or elongated tail |
| Lips | Sheer berry, muted wine, brown-plum | Black, oxblood, deep aubergine, or dark burgundy |
These are starting points, not rules. You can pair a bare-looking base with black lipstick, or dramatic eyeliner with a softer lip. The Gothic Vamp makeup look offers a reference for a darker interpretation.
Choose goth shades for your skin tone
Match foundation to your face and neck as you normally would. A foundation that is several shades lighter can create a visible boundary and make the rest of your makeup harder to balance. If you want a theatrical pale effect, treat that as a separate creative choice rather than the default.
Adjust shadow depth to your complexion
On fair or light skin, warm taupe, mushroom, muted mauve, and medium gray can bridge the gap between bare skin and black shadow. Start with a small amount: even a narrow charcoal band may look quite intense.
On medium or tan skin, try cocoa, deep taupe, smoky plum, and espresso. Choose a transition shade that is visibly deeper than your skin rather than a pale gray that may look chalky.
On deep skin, rich plum, burgundy, deep espresso, and pigmented black can create dimension. If several dark mattes look similar once applied, add a small pewter, gunmetal, or deep bronze accent to distinguish the lid from the outer corner. You don’t need to lighten the entire lid to make the look readable.
Use undertone to choose the supporting colors
- Cool undertones: charcoal, slate, blue-black, aubergine, and blue-red wine lips.
- Warm undertones: espresso, blackened bronze, warm plum, brick red, and brown-based oxblood.
- Neutral undertones: either direction; connect the look with a shared brown, gray, or plum base.
- Olive coloring: try smoky olive, espresso, blackened plum, and deep berry. Olive skin can lean warm, cool, or neutral, so compare rather than assuming.
These are harmony suggestions, not restrictions. Black liner works across undertones. If your supporting shades feel disconnected, the Undertone Finder can offer a starting point, but check the colors on your skin in daylight.
A beginner-friendly goth makeup routine
For a manageable first look, choose one transition shadow, one dark shadow, black or espresso eyeliner, mascara, a brow product, and a wine-colored lip. Add your usual complexion products and two eye brushes: a small dense brush for placement and a clean fluffy brush for edges.
If your dark powder tends to fall beneath your eyes, complete the eyes before applying foundation and concealer. The steps below separate preparation from complexion coverage so cleanup stays simple.
1. Prepare your skin and lids
Apply your usual moisturizer and let it settle. Keep heavy skincare away from the lash line, where it can interfere with liner placement.
Spread a thin layer of eye primer over the lid. If you prefer concealer as a lid base, use very little and lightly set any tackiness before blending powder shadow. Thick, sticky layers can make dark pigment grab in patches.
Decide where the smoke will end while looking straight ahead. For your first attempt, keep the upper boundary below the brow bone and the outer boundary relatively close to the outer eye corner.
2. Sketch the shadow shape with a midtone
Choose warm taupe, cocoa, muted mauve, or plum that is slightly deeper than your skin. With a small fluffy brush, sweep it along the upper edge of your intended shadow shape.
Use light pressure and short strokes. This shade is a transition, not a wash that needs to reach your eyebrow. Leave some visible skin or a skin-matching shade beneath the brow so the eye retains structure.
For hooded eyes, judge the placement with your eyes open rather than relying only on the crease you see when looking down.
3. Press dark shadow close to the lashes
Pick up a little charcoal, espresso, aubergine, or black with a dense brush, and tap off excess. Press it along the upper lashes, then build upward over the outer half of the lid.
Keep the deepest concentration at the lash roots and outer corner. For a simple smoky shape, stop the darkest color around the middle of the mobile lid and let the transition shade soften its upper edge.
Switch to your clean fluffy brush and blend just the boundary with tiny strokes. Don’t sweep across the entire lid repeatedly: that spreads black into every lighter area and removes the gradient. Add pigment in thin layers until the depth looks intentional.
4. Add eyeliner and lower-lash definition
Draw a thin line along the upper lashes using short, connected strokes. A pencil is forgiving for a softly smudged finish; gel or liquid can create a sharper outer point.
For a beginner wing, mark the endpoint with your eyes open, then connect it back to the outer lash line. Keep it short until you can see how the shape behaves when you blink.
Use the shadow remaining on your small brush beneath the outer third of the lower lashes. Connect that shading to the upper outer corner, then soften its lower edge. You don’t need to line the waterline or surround the entire eye with black to get a goth effect.
Finish with mascara, keeping the lash roots well coated so they don’t disappear against the shadow. Use only products labeled for the eye area around your eyes.
5. Clean fallout, then apply your base
Lift fallen pigment with a clean pad or cotton bud and a little makeup remover rather than rubbing it across your cheek. Let the area dry before applying complexion products.
Use skin-matching foundation where you want coverage and concealer only where needed. Around the outer eye, a small brush lets you tidy the shadow edge without carving an unnaturally bright stripe beneath it.
Set areas that crease or become shiny with a light dusting of powder. If you want cheek definition, use a muted contour shade suited to your depth and undertone—not black eyeshadow. Optional blush in dusty rose, muted berry, or soft brick can keep the face dimensional without changing the mood.
6. Define brows without making them a solid block
Brush your brow hairs into place, then fill gaps with fine strokes. Keep the front lighter and concentrate definition through the arch and tail.
Choose a shade close to your brow hair, or slightly deeper for a stronger effect. Black brows are optional, even when your eyeliner is black. With lighter brows, an ash-brown or deep taupe pencil can provide enough structure without taking over the face.
7. Finish with a controlled dark lip
If your lips feel slippery from balm, blot before outlining. Use a liner close to your lipstick shade to mark the Cupid’s bow, lower-lip center, and corners, then connect the points.
Fill with wine, oxblood, brown-plum, or black lipstick in thin layers. A small lip brush helps place color evenly at the corners. Blot a creamy formula once, then reapply only where coverage needs strengthening.
For an easier first version, press deep berry lipstick into the center and soften it toward the edges. For a sharper version, keep the perimeter crisp and the coverage opaque.
Adapt dark eye makeup to your eye shape
Eye shapes overlap: you might have almond eyes with hooded lids, for example. Use these directions as placement options, then check the result with your face relaxed and eyes open.
Hooded eyes
Place the transition shade slightly above the fold where it stays visible. Keep liner thin across the inner and middle lid so it doesn’t consume all the visible space.
Draw the outer wing with your eyes open. If a straight wing disappears into a fold, a stepped or batwing outline may look more continuous from the front. The hooded-eye eyeliner guide explains that adjustment in more detail.
Monolids
Build a gradient from darkest at the lash line to softer above it; you don’t need to invent a crease. Test the liner thickness while looking ahead, increasing it gradually until it remains visible.
A horizontally extended outer corner can create an elongated effect. Keep the upper shadow boundary soft so the liner supplies the crispness.
Round eyes
For a more elongated result, concentrate depth at the outer third and blend outward rather than upward in a round arc. Keep lower-lash smoke narrower near the inner half.
If you like emphasizing roundness, place more shadow above the center of the lid instead. Neither effect is a correction; they simply create different silhouettes.
Almond, upturned, or downturned eyes
For almond eyes, follow the lash line and choose either a short wing or longer smoke. On upturned eyes, following the outer corner’s direction can emphasize the lift.
For downturned eyes, a lifted effect is easier if you sketch the wing before reaching the very end of the upper lash line. Keep lower shadow close to the lashes rather than dragging it downward at the outer corner.
Why dark eyeshadow looks muddy—and how to fix it
A defined smoky eye still has distinct zones: a dark lash line, a softer middle, and a clean outer boundary. If everything becomes the same gray-brown haze, diagnose the placement before adding more product.
| What you see | Likely makeup issue | What to do |
|---|---|---|
| The whole lid looks equally dark | Black has been blended through every zone | Clean the brush, stop blending across the lid, and restore a small midtone area above the dark section |
| A patch grabs more pigment than its surroundings | Uneven or overly tacky base | Stop layering; if necessary, remove that small area and rebuild over a thin, even base |
| Gray shadow looks chalky | The shade is too light or has a visible pale base | Try a deeper charcoal, espresso, or plum with better color payoff |
| Color spreads farther with each pass | The brush is too large or loaded with dark pigment | Switch to a smaller clean brush and soften only the perimeter |
| The eye looks heavy underneath | Lower shadow extends too far down or inward | Remove the lowest edge and keep depth close to the outer lashes |
| The smoke looks shapeless | There is no crisp anchor | Reinforce the upper lash line and tidy either the wing or outer shadow edge |
Two habits prevent most beginner muddiness: place before you blend, and keep a separate clean brush for softening edges. Once dark pigment reaches too far, more blending usually enlarges the problem. A small cleanup is often faster than trying to cover it with pale powder.
Check both eyes from normal mirror distance, not just close up. You’re looking for similar visual weight, not perfectly identical brushstrokes.
Make the same routine softer or more dramatic
For soft goth, use espresso or charcoal rather than an all-black lid, keep the smoke near the lashes, and choose a sheer berry or brown-plum lip. Leave brows softly filled and let some natural skin texture show. The look stays dark through its palette, even with less coverage.
For romantic goth, lean into aubergine shadow, muted burgundy, and a wine lip. Keep the upper shadow edge diffused and the lip outline deliberate. A restrained satin finish can add dimension without making every feature shiny.
For dramatic goth, build an opaque black lid or extend the wing, then add a precise oxblood or black lip. Change one element at a time: finish the eye shape before deciding whether you also want heavier lower liner or a stronger brow.
When both eyes and lips are intense, simple cheeks give those features room. You don’t need a sharply contoured face, thick brows, metallic lids, and graphic liner all at once for the result to read as goth.
Plan your liner and preview the look with Vella
Use the free Eyeliner Shape Finder for eye-specific liner guidance before committing to a thick wing. Treat the suggestion as a starting point, then check the shape with your eyes open.
In the Vella Studio app, you can try makeup on your own photo and compare it with a before/after slider. You can also upload a reference look for adaptation to your eye shape, face shape, and undertone, with a step-by-step routine. A preview can help you choose between a softer wine lip and a darker statement; test real products separately for texture, application, and wear.
Frequently asked questions
Can you do goth makeup without pale foundation?
Yes. Match foundation to your natural skin tone and create the gothic effect through dark eyes, deliberate liner, and deep lips. Charcoal, espresso, plum, burgundy, and black can all work without lightening your complexion.
What is the easiest goth makeup look for beginners?
Start with charcoal or espresso shadow along the upper lashes, a short black wing, softly defined brows, and a wine-colored lip. Keep the lower-lash shading limited to the outer third. This gives you a recognizable dark look without needing an opaque black smoky eye.
What is the difference between soft goth and dramatic goth makeup?
Soft goth uses the same dark color families with sheerer coverage, smaller shadow shapes, and less graphic liner. Dramatic versions often use opaque black shadow, extended wings, or sharply outlined dark lips. You can combine elements from both rather than following a fixed formula.
How do you stop black eyeshadow from looking muddy?
Press black shadow where you want the greatest depth, then use a separate clean brush to soften only its edges. Keep a visible transition between the dark lash line and the lighter area above it. If shadow spreads too far, clean up the excess instead of continuing to blend.
What do ゴシックメイク and 고스 메이크업 mean?
ゴシックメイク is Japanese for gothic makeup, while 고스 메이크업 refers to goth makeup in Korean. Both searches can lead to dark, expressive looks featuring smoky eyes, defined eyeliner, and deep lip colors, though individual styles vary.
Try it on your own face
Vella Studio finds your color season and shows every look on your photo — every shade named, so you know exactly what to buy.