- Skin Tone & Undertone
- Skin Tone
- Undertones
- Makeup Matching
- Beauty Tools
How to Find Your Skin Tone: Mirror and Photo Tests
Vella Beauty Editors••11 min read
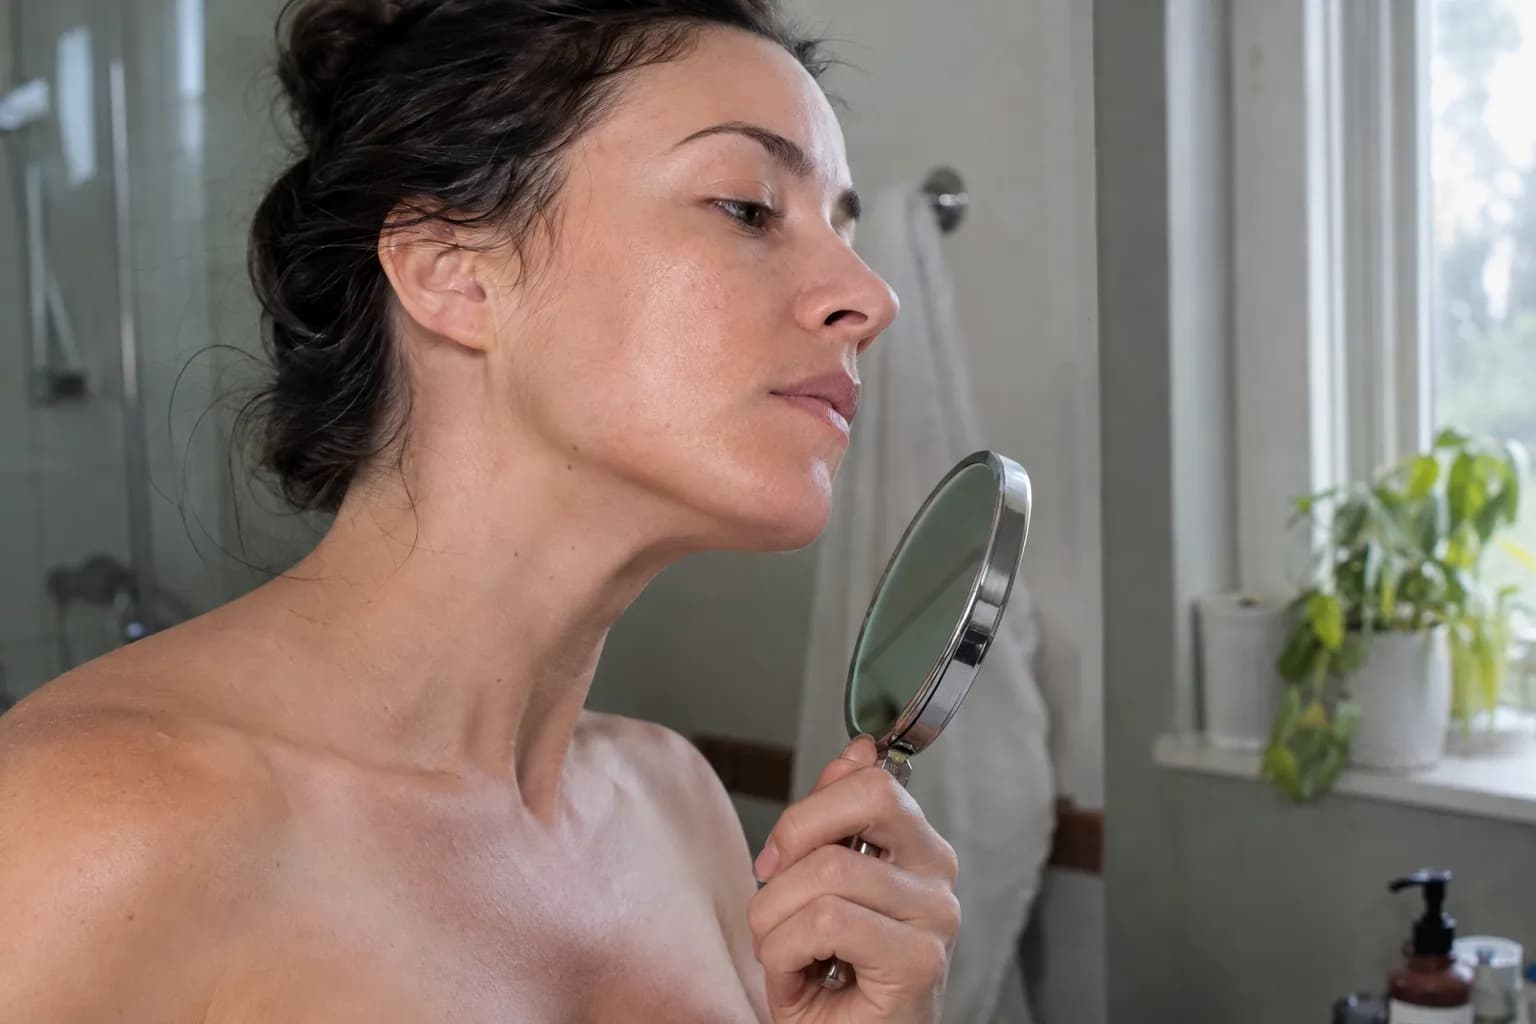
To learn how to find your skin tone, start with your bare face in indirect daylight and identify how light or deep your skin looks—not whether it looks pink or golden. Then check your undertone separately. This guide walks you through a mirror check, a reliable photo setup, and how to use online skin tone finders without letting camera processing decide your foundation shade.

See your colors on your face
Vella Studio finds your color season from a selfie and tries makeup looks on your own photo.
Skin tone depth and undertone are different things
For makeup matching, it helps to split “skin tone” into two questions: What is your depth? What is your undertone? They describe different aspects of your coloring, and neither gives you the complete answer alone.
Depth is how light or dark your skin appears. Common beauty labels include fair, light, medium, tan, deep, and very deep, with plenty of in-between shades. These labels are approximate: one shade range’s “medium” may be another’s “light-medium.”
Undertone describes the underlying color cast. Warm, cool, and neutral are common categories; olive describes a greenish or gray-green cast that can coexist with different degrees of warmth. Deep skin is not automatically warm, and fair skin is not automatically cool.
| What you’re checking | What it describes | Useful clues | What it cannot tell you alone |
|---|---|---|---|
| Skin tone depth | How light or deep your skin appears | Bare lower cheek, jawline, and face-to-neck comparison | Whether foundation should lean golden, rosy, or olive |
| Undertone | The underlying color cast | How similarly deep foundation shades blend into your skin | How light or dark your foundation should be |
| Surface color | Visible redness, tanning, or uneven patches | Differences between cheeks, forehead, and other areas | A dependable undertone classification |
Your current depth can change with tanning or fading color. Surface redness can also make your face look pinker than your neck without settling your undertone.
A useful result might be “medium depth; undertone still uncertain.” That is more actionable than forcing yourself into “warm tan” because one photo looks orange. For the separate color-cast investigation, use the dedicated guide to finding your undertone.
How to find your skin tone in a mirror
A mirror check gives you a baseline that does not depend on your phone’s image processing. You do not need to identify an exact foundation shade yet; aim for a sensible depth range.
1. Start with bare, settled skin
Remove foundation, tinted moisturizer, bronzer, and blush. If rubbing your face has temporarily changed its color, wait until it looks like its usual self before checking.
Keep self-tanner in mind. If you currently wear it, decide whether you are matching your makeup to that present color or trying to identify your untanned depth. Those are different tasks.
2. Face a window with soft daylight
Stand where daylight reaches both sides of your face reasonably evenly. Avoid a strip of direct sun, which can create bright highlights and dark shadows. Turn off nearby warm lamps so you are not mixing yellow indoor light with daylight.
Move bright scarves or high collars away from your chin. A strongly colored garment can reflect color onto your jaw and complicate the comparison.
3. Look at three areas together
Examine your lower cheek, jawline, and the side of your neck. Use the forehead as an additional reference, not your only reference: it may be darker than the rest of your face.
Do not judge depth from an under-eye shadow, a flushed cheek, or one isolated patch. You are looking for the broader background depth across areas of relatively even color.
4. Choose a range, not a rigid label
Start broadly: does your skin sit toward the light, middle, or deep end of the range? Then narrow that estimate to fair/light, light-medium/medium, medium-tan/tan, or deep/very deep.
If you sit between labels, keep both. “Light to light-medium” is a useful starting point for swatching. There is no universal boundary you need to cross to earn a particular label.
5. Check the transition to your neck
Step back from the mirror. Does your face look noticeably lighter or deeper than your neck and exposed upper chest?
For foundation, the goal is usually a believable transition between those visible areas—not an exact match to one unusually light or dark spot. If your neck sits in shadow, change your position before assuming it is genuinely deeper.
Take a photo that shows your actual depth
A skin tone finder by photo can only interpret the image you give it. A technically sharp selfie can still be a poor color reference if the lighting or processing has shifted your skin.
A repeatable photo setup
- Use soft, indirect daylight. Face the window rather than standing with it behind you.
- Clean the camera lens. Smears can create haze and reduce visible detail.
- Use regular photo mode. Turn off beauty effects, skin smoothing, portrait lighting effects, and color filters where possible.
- Include your face, jaw, and some neck. Hold the camera around eye level, far enough away to avoid an extreme close-up.
- Keep exposure near its default. Do not brighten the image until your complexion looks lighter or lower it for a moodier effect.
- Take two photos in the same setup. Compare them with your reflection before uploading one.
Choose the photo that resembles what you see in the mirror, not the one with the most flattering glow. An original image is generally a better reference than a screenshot downloaded from a social app.
What changes the result?
| Photo condition | Possible effect | Better approach |
|---|---|---|
| Direct sunlight | Bright highlights and deep shadows obscure your overall depth | Move into indirect daylight |
| Warm indoor bulbs | Skin may look more yellow or orange | Turn them off and use window light |
| Strong backlighting | Your face may look too dark, or processing may over-brighten it | Put the window in front of you |
| Beauty filters | Skin can look lighter, smoother, or less varied | Use an unfiltered original |
| Automatic white balance | The camera may shift skin warmer or cooler | Keep lighting and surroundings consistent |
| Automatic exposure or HDR processing | Brightness and local contrast may change | Check that both cheeks retain detail and match your reflection |
You do not need professional manual camera settings. Consistency matters more than adjusting technical controls you are unfamiliar with.
Your screen also affects your judgment. A warm display mode or unusually high brightness can make a photo look different without changing the uploaded file. Temporarily disable strong display color adjustments when comparing the image with your face, and avoid comparing results across several differently adjusted screens.
What online skin tone checkers and AI tests can tell you
An online skin tone checker can provide a useful second opinion about the depth visible in a photograph. It is especially helpful when shade labels feel abstract or you keep alternating between two neighboring categories.
You can use the skin tone photo checker as that second check. Start with the clean daylight image you prepared, then compare the result with your mirror estimate.
Treat the result as an estimate, not a measurement certificate
A skin tone finder AI may analyze visible skin color and assign a category, but it is still analyzing a photograph—not observing you directly. Depending on the tool, makeup, shadows, facial hair, background color, and image processing may influence the assessment.
A result such as “medium” is a starting range. It does not establish that every medium foundation will match you, identify your undertone automatically, or assign you a seasonal color palette.
There is also an important difference between picking a pixel color and estimating your overall skin tone. A single sampled pixel might come from a highlight, shadow, or patch of redness. Even a precise-looking color code describes that part of that image, not your entire complexion under every light.
Choosing a free photo test
If you are searching for a free online skin tone photo test, prioritize a clear photo-upload process, understandable results, and a privacy policy you are comfortable with. Check whether the actual result is free rather than assuming “free upload” means free analysis.
Use one good image first. Running many different selfies through many checkers often introduces more variables than it resolves. The useful question is: Does this estimate agree with my bare skin in consistent daylight?
When results disagree: common mistakes and fixes
A disagreement is a reason to troubleshoot the input—not proof that your skin has no identifiable depth.
Your mirror says medium; the photo test says light
Check for overexposure. If your forehead or cheeks look washed out and lose visible detail, your photo may be too bright. Retake it farther from direct light, without manually raising exposure.
Also check whether the labels overlap. “Light-medium” in one system and “medium” in another may describe much the same range. A neighboring-category disagreement is less meaningful than a large jump.
Two photos give different answers
Compare the lighting, camera, and settings before comparing the labels. A warm bathroom selfie and a daylight selfie are not a controlled test.
Retake two images with the same camera, position, and light. If the result still fluctuates between adjacent categories, record the range and move on to physical swatches. Do not average wildly different results from poor photographs.
Your face and neck do not match
This can reflect real variation, makeup residue, tanning, or uneven lighting. Look at the jaw-to-neck transition in the mirror and include your exposed chest when relevant to how you wear foundation.
Avoid matching only the palest area under your chin or only the darkest area of your forehead. Test a shade that creates a coherent transition across the visible areas instead.
You are using redness to judge depth
Pinkness and depth are not the same variable. Look at a less flushed area along the lower cheek, then compare how light or dark it appears rather than how rosy it looks.
A photo checker cannot diagnose persistent redness or another skin condition. If a skin change concerns you, ask a dermatologist rather than relying on a beauty analysis.
You are trying to infer tone from ethnicity or tanning ability
Neither tells you your exact current depth or undertone. Likewise, vein color is not a depth test. Judge the skin you are matching now, under useful lighting, rather than working backward from a general assumption.
When uncertainty remains, trust a consistent mirror check plus real foundation swatches over one isolated AI label.
Turn your depth estimate into better makeup choices
Your depth estimate narrows the search. Your undertone, preferred contrast, and the formula’s pigment level help you choose within that range.
Check foundation in the right place
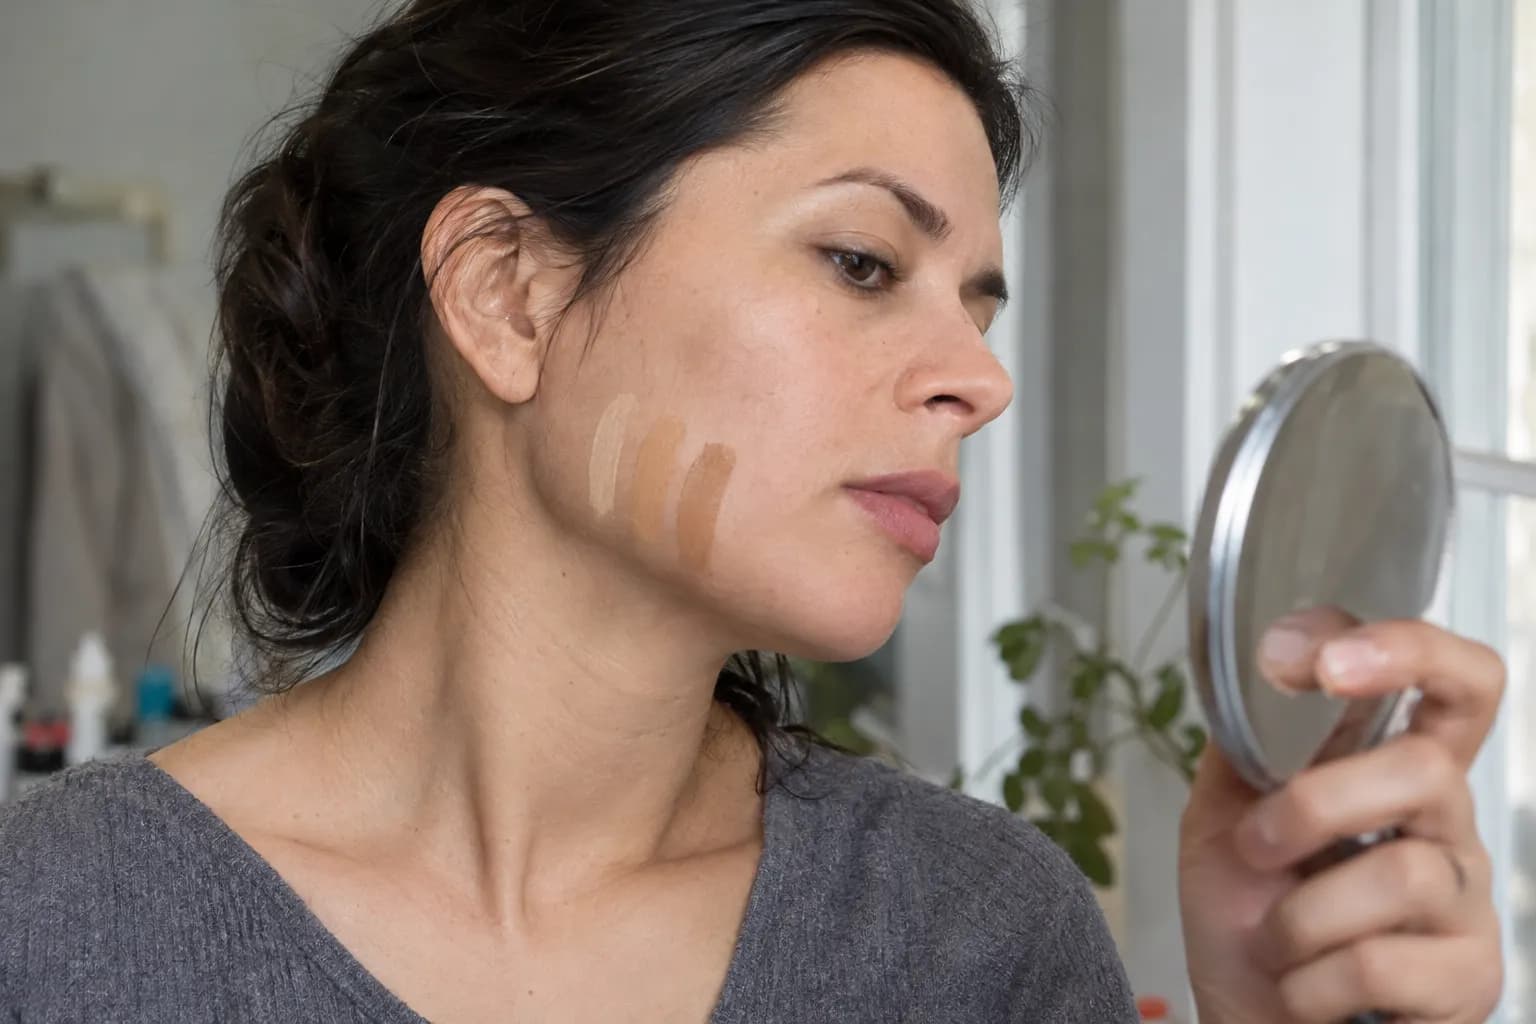
Choose two or three nearby depths with a similar undertone. Apply small vertical swatches along the outer lower cheek, crossing the jawline slightly onto the neck. Keeping undertone similar makes it easier to see which depth fits.
Let the formula settle according to its directions, then inspect it in indirect daylight. The best candidate should blend into the surrounding skin without a conspicuously pale or dark stripe.
If the depth seems right but the swatch looks orange, pink, or overly yellow, investigate undertone rather than automatically choosing a lighter shade. If every swatch looks wrong, change the undertone group and test again.
Choose color intensity, not restrictive rules
Depth helps you predict how visible a makeup shade may be. These are starting points, not limits:
- Fair to light: Sheer dusty rose, soft peach, and muted berry offer adjustable cheek color. Apply a small amount to the upper cheek and blend outward.
- Medium to tan: Rosewood, terracotta, and brick red can add definition without relying on a pale base. Start at the outer cheek and blend toward the center.
- Deep to very deep: Rich berry, plum, burnt orange, and deep brick can give visible color. Build in thin layers; very pale, opaque bases may look chalky rather than simply subtle.
For eyes, warm taupe can create soft definition on lighter depths but may look pale or barely visible on deeper skin, depending on its base and pigment. Cocoa, chestnut, or espresso may provide a more noticeable shadow effect. Your undertone helps decide whether you prefer a golden, reddish, or cooler version.
A sheer satin finish is forgiving when exploring new cheek colors because you can build the intensity gradually. Neither your depth nor your undertone forbids you from wearing a color you enjoy.
Use Vella to separate the checks, then preview makeup
Keep the steps distinct: establish your likely depth first, then use the free Undertone Finder for the separate undertone check. This avoids treating a depth label such as “tan” as if it already meant “warm.”
The Vella Studio app offers 12-season color analysis from a selfie and photorealistic makeup try-on on your own photo, with a before/after slider and named shades. Use the preview to compare color directions—such as dusty rose versus terracotta—rather than treating a digital look as a guaranteed foundation match.
Vella is available for iPhone and Android and is free to download; Vella Pro unlocks unlimited use. Photos are not sold or used to train AI.
Save a short note with your practical result: depth range, likely undertone, photo conditions, and any foundation swatches that blended well. That record is more useful for your next makeup choice than repeatedly chasing a perfectly fixed label.
Frequently asked questions
How can I find my skin tone from a photo?
Take an unfiltered photo of your bare face in soft, indirect daylight, including your jawline and some neck. Use a skin tone photo checker for an estimate, then compare that result with your reflection in the same light. Avoid photos with bright highlights, deep shadows, or beauty effects.
Are AI skin tone finders accurate?
AI skin tone finders can offer a useful starting estimate, but their results depend on the photo and the tool’s category system. Lighting, exposure, makeup, and camera processing can change the apparent depth. Confirm the estimate with a mirror check and physical foundation swatches rather than treating it as an exact shade match.
Can I check my skin tone online for free?
Yes, free online skin tone checkers can help you estimate your depth from a photo. Check whether viewing the result is free and review the tool’s photo privacy information before uploading. A bare-face daylight mirror check is also a free baseline.
What is the difference between skin tone and undertone?
For makeup matching, skin tone depth describes how light or deep your skin appears, while undertone describes its underlying color cast. You might have medium depth with a warm, cool, neutral, or olive-leaning undertone. Identifying one does not automatically identify the other.
Why do different skin tone checkers give me different results?
Tools may use different category boundaries, and your photos may differ in lighting, exposure, or processing. Repeat the check with the same clear daylight photo before interpreting the disagreement. If the results fall into neighboring categories, keep a depth range and narrow it with foundation swatches.
Should I match foundation to my face or my neck?
Aim for a natural transition between your face, neck, and exposed upper chest rather than matching one isolated area. Test small swatches along the lower cheek and across the jawline, then inspect them in indirect daylight. Make sure a shadow under your chin is not misleading the comparison.
Try it on your own face
Vella Studio finds your color season and shows every look on your photo — every shade named, so you know exactly what to buy.